
Modify Yoga for Bad Knees: Safe Poses & Techniques

Table of Contents
When to Seek Medical Assessment Before Practicing Yoga
How to Modify Yoga for Bad Knees: Core Principles
Understanding Knee Biomechanics and Alignment
Pain Monitoring: The Real-Time and Delayed Response Framework
Tailoring Modifications to Your Condition
Yoga Poses for Knee Pain That Build Strength
Mountain Pose with Quad Engagement
Supported Warrior Poses
Gentle Hamstring and Hip Stretches
Modified Pigeon Pose for Knee Pain: Step-by-Step
Using Yoga Props for Knee Pain: Blocks, Blankets, and Bolsters
Yoga Blocks for Alignment and Support
Blankets and Bolsters for Cushioning
Yoga Poses to Avoid With Knee Pain
Deep Lunges and Squats
Full Pigeon Pose (Eka Kapotasana)
Child's Pose (Balasana)
Poses Requiring Deep Knee Flexion with Twisting
The Golden Rule: Pain as Your Stop Signal
A Beginner-Friendly Practice Sequence for Bad Knees
Warm-Up and Centering
Standing Poses with Modifications
Floor Work and Cool-Down
Frequently Asked Questions
Last Updated: October 11, 2026
When to Seek Medical Assessment Before Practicing Yoga
Before you modify yoga for bad knees, check with a healthcare provider first. Knee pain can signal different issues. Some need professional care before you start any practice.

See a doctor if your pain is sharp, sudden, or swelling is present. Also seek help if your knee gives out or feels unstable. Pain that wakes you at night or limits daily activities needs evaluation too.
Your doctor can identify what's causing the pain. They'll tell you which movements are safe. This guidance helps you practice without making things worse.
Watch Out Ignoring severe knee pain and practicing anyway can turn a minor issue into a serious injury. Get cleared by a healthcare provider before starting any modified yoga routine.
How to Modify Yoga for Bad Knees: Core Principles
Modifying yoga for bad knees requires understanding knee mechanics and your specific pain type, as different conditions, general soreness, meniscus injury, or post-surgical recovery, require different approaches.
Understanding Knee Biomechanics and Alignment
Your knee is a hinge joint that bears weight and transfers force between hip and ankle. Misalignment during yoga creates uneven pressure on cartilage and ligaments.
Proper alignment means your knee tracks over your ankle and second toe, with the kneecap centered in its groove.
To check alignment: stand in Mountain Pose facing a mirror. Knees should point straight ahead with weight distributed evenly across all four corners of your feet.
A healthy knee bends 135 degrees, but with pain, work within 60-90 degrees initially and gradually increase as strength improves. Forcing deeper bends before muscles are ready accelerates cartilage wear.
Pain Monitoring: The Real-Time and Delayed Response Framework
Pain serves as your primary feedback signal. Learning to distinguish types of pain is essential.
During practice: Sharp, shooting, or catching pain signals joint stress, stop immediately. Mild muscle fatigue or gentle stretch sensation is normal. Exit if your knee feels unstable or "gives."
The 2-hour rule: Monitor pain for 2 hours after practice.
The next-day test: Mild soreness that resolves within hours is typical. Persistent pain, unreduced swelling, or stiffness limiting range of motion means modify further.
Keep a practice log noting poses, hold times, and any pain or swelling. Over 2-3 weeks, patterns emerge showing which poses your knees tolerate.
Tailoring Modifications to Your Condition
General soreness, osteoarthritis, meniscus injury, and post-surgical recovery each require different approaches.
General soreness: Emphasize quadriceps and glute strengthening with reduced bending depth and liberal props. Osteoarthritis: Warm up thoroughly, avoid deep bending, and practice consistently. Meniscus/ligament concerns: Avoid twisting and deep bends; prioritize isometric strengthening. Post-surgical: Follow your provider's timeline, starting with gentle range-of-motion work and light strengthening.
When in doubt about your diagnosis or appropriate modifications, ask your healthcare provider or physical therapist which poses are safe for your specific condition. They can provide guidance tailored to your injury or condition stage.
Watch Out Sharp, sudden pain, swelling that doesn't reduce within a few hours, or a sensation of instability requires immediate medical evaluation. Do not continue practicing or attempt to "work through" these signals.
Yoga Poses for Knee Pain That Build Strength
These poses strengthen thighs, glutes, and hips to protect the joint. Hold each for 3-5 breaths.
Mountain Pose with Quad Engagement
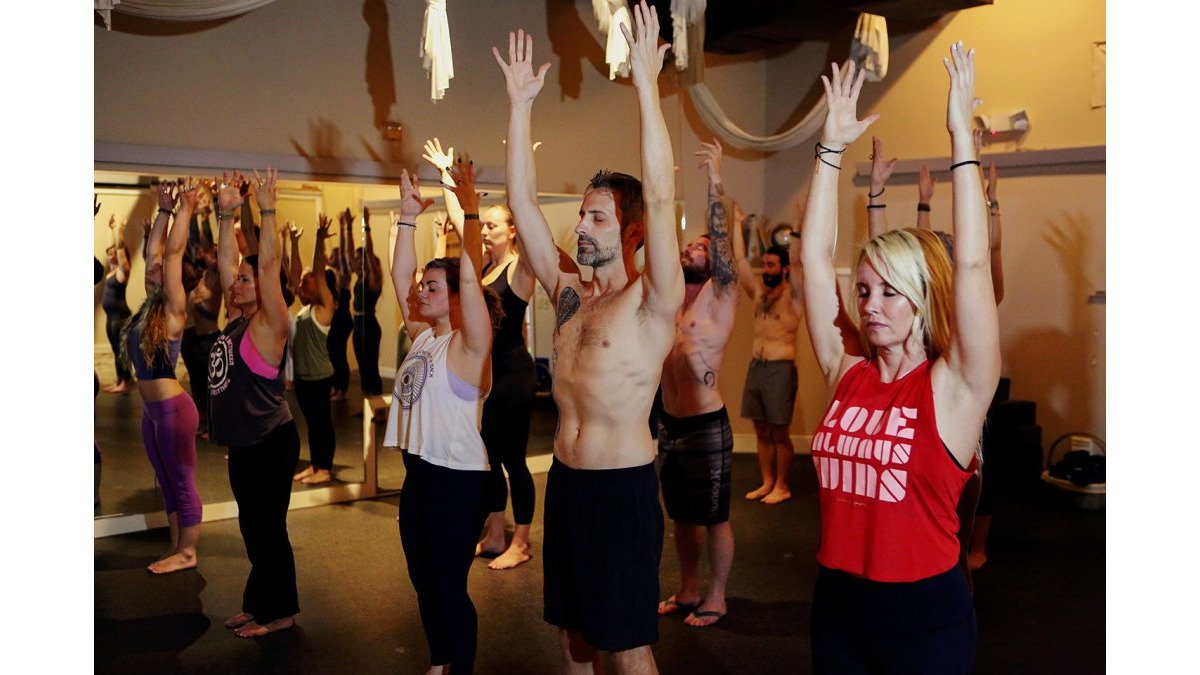
Mountain Pose builds thigh strength without deep bending. Stand with feet hip-width apart, press all four corners into the ground, and engage thigh muscles. Hold for 5-8 breaths, repeat 3-5 times. Strong quads stabilize the knee.
Supported Warrior Poses
Warrior poses build leg strength with wall or chair support. Warrior I: Step one foot back, place hands on a wall, bend front knee no more than 90 degrees, hold 5 breaths each side. Warrior II: Stand sideways to wall, keep front knee aligned over ankle, hold 5 breaths each side.
Pro Tip Use a wall or sturdy chair for all warrior poses when you have knee pain. This lets you control how deep you bend and reduces joint stress by 30-40%.
Gentle Hamstring and Hip Stretches
Tight hamstrings and hip muscles pull on the knee. Lie on your back, bend one knee and hug it toward your chest for 20-30 seconds, repeat on the other side. For hip stretches, drop one bent knee toward the floor while keeping your back flat, hold 20-30 seconds each side. Better flexibility reduces knee pressure.
Modified Pigeon Pose for Knee Pain: Step-by-Step
Pigeon Pose opens hips but can strain bad knees. This modification makes it safer.
Step 1: Sit with both legs extended, bend right knee and place right shin in front of you. Step 2: Place a blanket or block under your right hip to reduce knee strain. Step 3: Lean forward only as far as comfortable, keeping your back straight. Step 4: Hold 20-30 seconds, breathe deeply, switch sides. This protects your knee while stretching hip muscles.
Using Yoga Props for Knee Pain: Blocks, Blankets, and Bolsters
Props are essential when you modify yoga for bad knees, they reduce strain and increase comfort.

Yoga Blocks for Alignment and Support
Blocks bring the floor closer, reducing bending depth. In forward folds, place a block under your hands to shorten the distance. In standing poses, hold a block between your thighs to engage inner thighs and stabilize knees. Blocks also provide balance support during standing poses.
Blankets and Bolsters for Cushioning
Fold blankets and place under your knees when sitting to cushion the joint. Use bolsters to support your back during seated poses. Place blankets under your hips to tilt your pelvis and reduce knee pressure. Props are essential tools for safe practice.
Yoga Poses to Avoid With Knee Pain
Certain poses place excessive stress on the knee joint or require movements that aggravate common knee conditions. Understanding why these poses are problematic helps you recognize similar movements in other poses and make informed decisions about modifications.
Deep Lunges and Squats
Deep lunges and squats require the front knee to bend beyond 90 degrees while bearing significant weight, concentrating pressure on the kneecap. In deep lunges, the front knee travels past your toes, shifting weight onto the joint. Deep squats require both knees to bend 120+ degrees with full body weight pressing down, one of the highest-stress positions.
Why problematic: Deep bending increases friction and pressure on cartilage, accelerating wear if you have osteoarthritis, meniscus damage, or inflammation. When safe: Only after significant strength gains under professional guidance; modified versions with shallower depth and props are preferable.
Full Pigeon Pose (Eka Kapotasana)
Full Pigeon combines hip opening with intense pressure on the bent knee as your torso weight presses directly onto the joint. If hip muscles are tight, the stretch pulls harder on the knee, creating painful pinching.
Why it's problematic: The bent knee is in a vulnerable position, flexed and internally rotated, while bearing load. This combination stresses the meniscus and ligaments. The deeper you fold forward, the more pressure increases.
Safe alternative: Use the modified Pigeon version described in this article, which elevates your hip with a prop and reduces knee loading.
Child's Pose (Balasana)
Child's Pose requires you to kneel and fold forward, placing your full upper body weight onto your knees.
Your knees bear the weight of your torso, arms, and head, often 40-60% of your body weight concentrated on a small joint.
Why it's problematic: The kneecap and surrounding tissues absorb sustained compressive force. The longer you hold Child's Pose, the more irritation builds. This is especially true if you have osteoarthritis or recent knee injury.
Safe alternative: Use a bolster or thick blanket under your chest to reduce how far you fold. This lifts your torso and reduces pressure on your knees.
Poses Requiring Deep Knee Flexion with Twisting
Twisting motions while the knee is bent can pinch cartilage or strain ligaments. This is especially risky if you have a history of meniscus injury.
Why they're problematic: The meniscus is a C-shaped cartilage pad that acts as a shock absorber. When you twist a bent knee, the meniscus can get pinched between the bones.
Safe alternative: Separate the hip opening from the forward fold. Open your hips in a gentle, supported pose without twisting. Then practice forward folds with straight legs or minimal knee bending.
The Golden Rule: Pain as Your Stop Signal
If a pose causes sharp, shooting, or catching pain, stop immediately and exit the pose. Mild discomfort during a stretch is normal. Sharp pain is not. Your body is signaling potential injury.
Gentle muscle fatigue or a mild stretch sensation in the muscle belly (not the joint) is acceptable. Joint pain, felt directly at the knee, inside the knee, or as a pinching sensation, is a red flag.
When you encounter a pose that causes pain, do not attempt it again until you've built significantly more strength or received clearance from a healthcare provider.
Key Takeaway Avoid any pose that requires deep knee bending (past 90 degrees), places sustained weight on a bent knee, or combines bending with twisting. These movements concentrate stress on vulnerable joint structures. Modified versions of nearly every pose exist; use them without hesitation.
A Beginner-Friendly Practice Sequence for Bad Knees
This 15-minute sequence is safe for knees. Practice 3-4 times per week.
Warm-Up and Centering
Sit comfortably on a blanket. Close your eyes. Take 10 deep breaths.
Gently rotate your ankles in circles. Five rotations each direction. This warms up your lower body.
Massage your thighs and calves. Use your hands to warm the muscles. This increases blood flow.
Standing Poses with Modifications
Stand in Mountain Pose. Engage your thighs. Hold for 8 breaths.
Move into supported Warrior I. Use a wall. Hold for 5 breaths each side.
Practice Warrior II with wall support. Hold for 5 breaths each side.
Return to Mountain Pose. Rest for 5 breaths.
Floor Work and Cool-Down
Sit on your mat. Hug one knee toward your chest. Hold for 20 seconds. Switch sides.
Lie on your back. Hug both knees to your chest. Hold for 30 seconds.
Extend your legs. Rest for 2 minutes. Focus on your breath.
End in a comfortable seated position. Take 5 final deep breaths.
This sequence takes 15 minutes. It builds strength without stressing your knees. Beginners see improvement within 2-3 weeks of consistent practice.
At Hot Asana Studio, we understand that knee pain shouldn't stop you from practicing yoga. Whether you're recovering from injury or managing chronic pain, our heated yoga and Pilates classes are designed to support your healing.
Frequently Asked Questions
How do you modify yoga poses for bad knees?
Modify yoga for bad knees by keeping knees slightly bent rather than locked, using props like blocks and blankets for support, and reducing your range of motion in deep-bending poses. Focus on alignment: stack your knee directly over your ankle, engage your thigh muscles, and avoid twisting movements at the knee joint. Work with an instructor experienced in modifications to ensure you're protecting your joints while building strength around the knees.
What yoga poses should you avoid if you have knee pain?
Avoid yoga poses to avoid with knee pain including deep lunges, full squats, Malasana (Garland Pose), Baddha Konasana (Bound Angle Pose), and Pigeon Pose in its full expression. These require deep knee flexion or internal rotation that can aggravate existing knee issues. Also skip poses where your knee tracks inward or outward, or where weight bears unevenly on the joint. If you're unsure about a specific pose, ask your instructor for a safer alternative.
Can you do yoga with knee pain, or should you stop completely?
You can do yoga with knee pain, but approach it carefully. Gentle, modified yoga can actually support knee health by strengthening the muscles around your knee and improving flexibility in your hips and hamstrings. Stop immediately if you feel sharp pain during or after practice, that signals you need to modify further or rest. If pain persists beyond a few days or worsens, consult a healthcare provider before continuing your practice.
Should I use a yoga block or blanket under my knees?
Yes, yoga props for knee pain like blocks and blankets offer valuable support. Use a blanket folded under your knees in floor poses like Reclining Bound Angle to reduce pressure on the kneecap. Blocks help in standing poses by bringing the floor closer to you, reducing how far you need to bend. Experiment to find what feels supportive without creating discomfort. Props aren't a sign of weakness, they're tools that let you practice safely and build strength over time.
Register Now

Comments